A blueprint is a pre-defined list of packages, arranged in the correct order of installation, that can be easily reused. You can assign blueprints to specific endpoints or groups for streamlined deployment. To view the details of a particular blueprint, simply click on the arrows next to the blueprint name.
Creating a blueprint and adding packages to it #
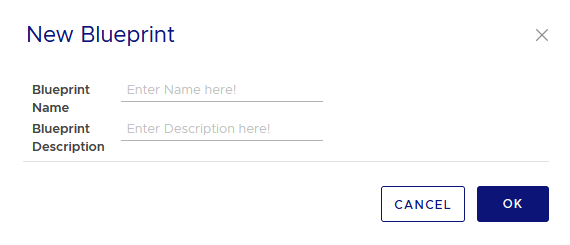
To create a blueprint simply click on the green + button and give it a name and a description.
![]()
Fill in the details for your blueprint and press “OK”
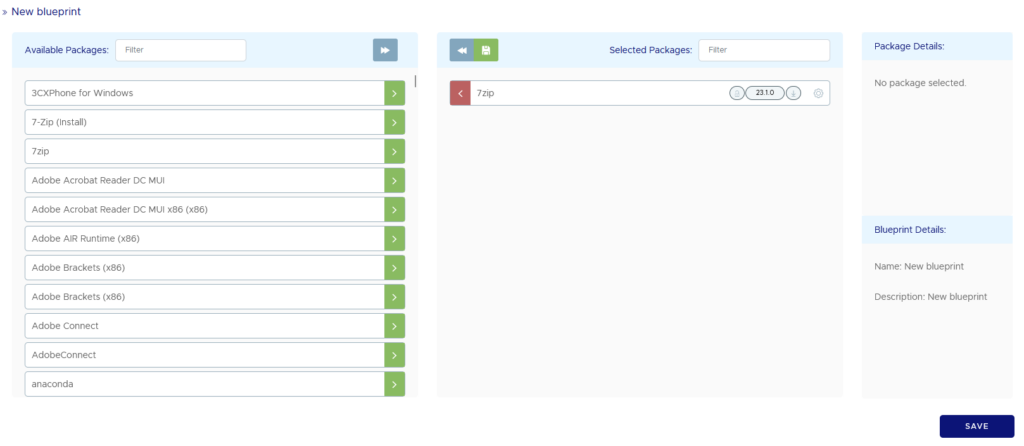
To add packages to your blueprint click on the green “Add Blueprint Actions”.

Here, you have the flexibility to drag and drop packages in any order. It’s important to keep in mind that package prerequisites should be placed at the start of the blueprint, as the order of packages in the blueprint will determine the order of installation.
It is also possible to lock a package to a certain version.
To configure this, click on the gear inside the package that is listed in the blueprint. From there choose the version and check the “Package Version Fixed” box followed by clicking “Save and Exit”.
When all packages are added to the blueprint and any optional configuration has been done, click “Save” to save the blueprint for later use.
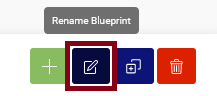
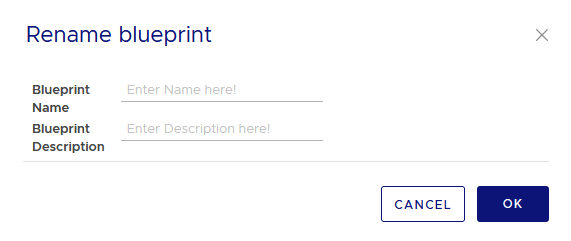
Renaming a blueprint #
Select a blueprint with the checkbox and click on the button “Rename Blueprint” button next to Create blueprint button and a prompt will appear to give the blueprint a new name and/or a new description. This can only be done when only one blueprint is marked.
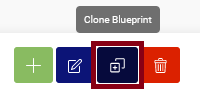
Cloning a blueprint #
Select the blueprint(s) you want to clone with the checkboxes and click the button next to the rename button. At the time of writing this, a refresh of the blueprints page is necessary to view the cloned blueprint.
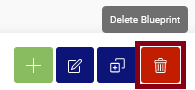
Deleting a blueprint #
Select the blueprint(s) you want to delete with the checkboxes and click the red Delete Blueprint button.